Introduction to Astrophotography
Astrophotography transforms our experience of the night sky. While the human eye can only capture a fraction of a second of light at a time, a digital sensor can gather light over minutes or hours. This allows photographers to reveal the vivid colors of nebulae, the dense dust lanes of the Milky Way, and millions of stars invisible to the naked eye. However, capturing these images requires precise technique, specialized knowledge, and a lot of patience.
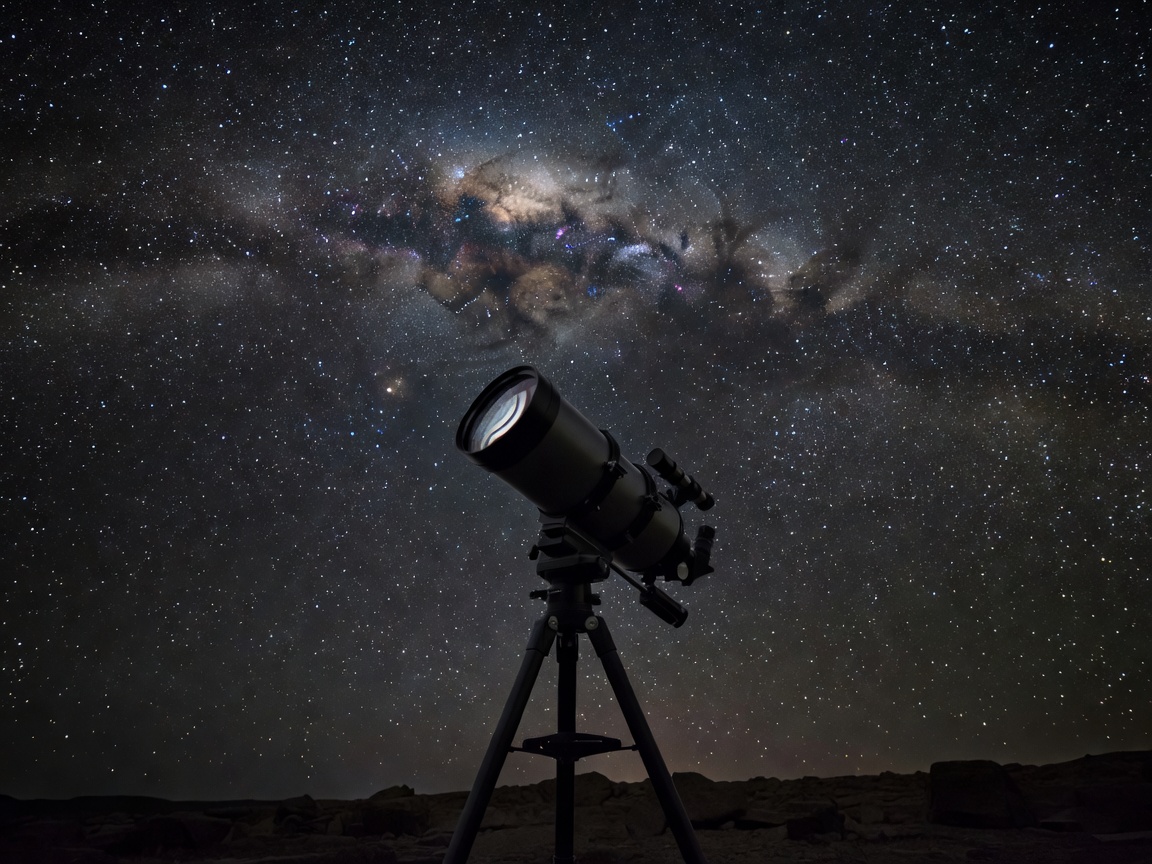
Essential Gear
You do not need a high-end telescope to begin astrophotography; standard photographic equipment can produce breathtaking results.
- A Capable Camera: A DSLR or Mirrorless camera with manual mode and interchangeable lenses is essential. A full-frame sensor is advantageous for low-light performance, but APS-C or Micro Four Thirds sensors are perfectly adequate for beginners.
- A Fast, Wide-Angle Lens: To capture wide-field views of the Milky Way, you need a lens that lets in a lot of light. A wide focal length (e.g., 14mm to 24mm) with a wide maximum aperture (f/2.8 or faster) is ideal.
- A Sturdy Tripod: Astrophotography relies entirely on long exposures. Any movement during a 20-second exposure will result in blurry stars. A heavy, stable tripod is non-negotiable.
- An Intervalometer / Remote Shutter: Pressing the shutter button with your finger can introduce vibration. A remote shutter allows you to trigger the camera without touching it.
Understanding the "500 Rule"
Because the Earth is constantly rotating, stars appear to move across the sky. If your exposure time is too long, the stars will register as streaks (star trails) rather than sharp points of light. To determine the maximum exposure time before trailing occurs, astrophotographers historically use the 500 Rule.
The Equation: 500 ÷ Focal Length = Maximum Exposure Time (in seconds).
For example, if you are using a 20mm lens on a full-frame camera: 500 ÷ 20 = 25 seconds. If you are using a crop sensor camera, you must multiply the focal length by the crop factor first. While the 500 rule is a good baseline, high-resolution digital sensors often require a stricter formula (like the NPF rule) to guarantee pin-sharp stars.
Basic Camera Settings for the Milky Way
| Setting | Recommendation | Purpose |
|---|---|---|
| File Format | RAW | Retains maximum data for post-processing and editing. |
| Focus | Manual | Autofocus cannot lock onto stars. Magnify a bright star in live view and adjust until pin-sharp. |
| Aperture | f/2.8 or widest available | Allows the maximum amount of light to hit the sensor. |
| ISO | 1600 - 6400 | Amplifies the signal. Higher ISO introduces noise, so find the balance for your specific camera. |
| Shutter Speed | 15 - 25 seconds | Determined by the 500 rule to prevent star trailing. |
Post-Processing: Bringing out the Data
Capturing the image is only half the battle in astrophotography; post-processing is where the magic happens. A raw file straight out of the camera will often look flat and low-contrast. Using software like Adobe Lightroom, Photoshop, or dedicated astrophotography tools like Sequator or DeepSkyStacker is vital.
The core tenets of processing involve correcting the white balance to ensure the night sky appears as a natural dark blue or gray rather than an unnatural orange (caused by light pollution). Astrophotographers adjust the contrast curves to darken the background sky while pushing the highlights to make the stars and galactic dust lanes pop.
For advanced processing, photographers use "image stacking." This involves taking dozens of consecutive shots of the same framing and using software to align and blend them together. Stacking dramatically increases the signal-to-noise ratio, allowing you to stretch the contrast much further than a single frame would permit, resulting in exceptionally clean, detailed images of the cosmos.